A homemade seismograph – first attempt
 Marcin Polkowski
Translated from Polish. Originally published on morony.pl on 4 Jun 2010.
Part 1 of 5 in the series Homemade seismograph
- A homemade seismograph – first attempt
- Homemade seismograph – step two
- Homemade seismograph – first recordings
- A seismic recorder
- A sound card as an A/D converter for a seismograph
I've probably mentioned before that I'm interested in seismology. Since there's a fair bit of equipment standing between seismic activity and studying it, it's worth getting to know what works and how. Unfortunately, the seismograph, the most basic instrument of all, is an expensive device, so buying one is out of the question. You can't buy a used one either – the market is small, and in Poland it doesn't exist at all. Hence the idea of building a seismograph myself.
The goal is an instrument that turns mechanical vibrations into a signal that can be recorded and analyzed. We'll limit ourselves to detecting vibrations in one direction. The easiest thing to build is a vertical seismograph.
What do we need to build it?
There are lots of ideas for how to build one. I chose the simplest (probably not the best) design: a magnet on a spring inside a coil. I needed:
- A magnet – the size of the magnet has to match the size of the whole setup. To start with, I decided to build a large setup – it's easier to get everything adjusted. I chose a neodymium magnet 45 mm in diameter and 25 mm high.
- A sleeve – a 50 mm sewer pipe
- A spring – from a desk lamp
- A coil – the most fiddly part. I couldn't find anything ready-made, so after many attempts I took apart an old vacuum cleaner, unwound the wire from its coil and wound it onto the sleeve.
- A stand – a wooden frame.
What do we need to test / use it?
Besides the setup itself, which works by having the magnet generate a voltage as it moves inside the coil, we'll need a device that reads this signal and allows us to analyze it. We need:
- An oscilloscope and/or a computer with a sound card
- Some wires
- A few plugs
What came out of it?
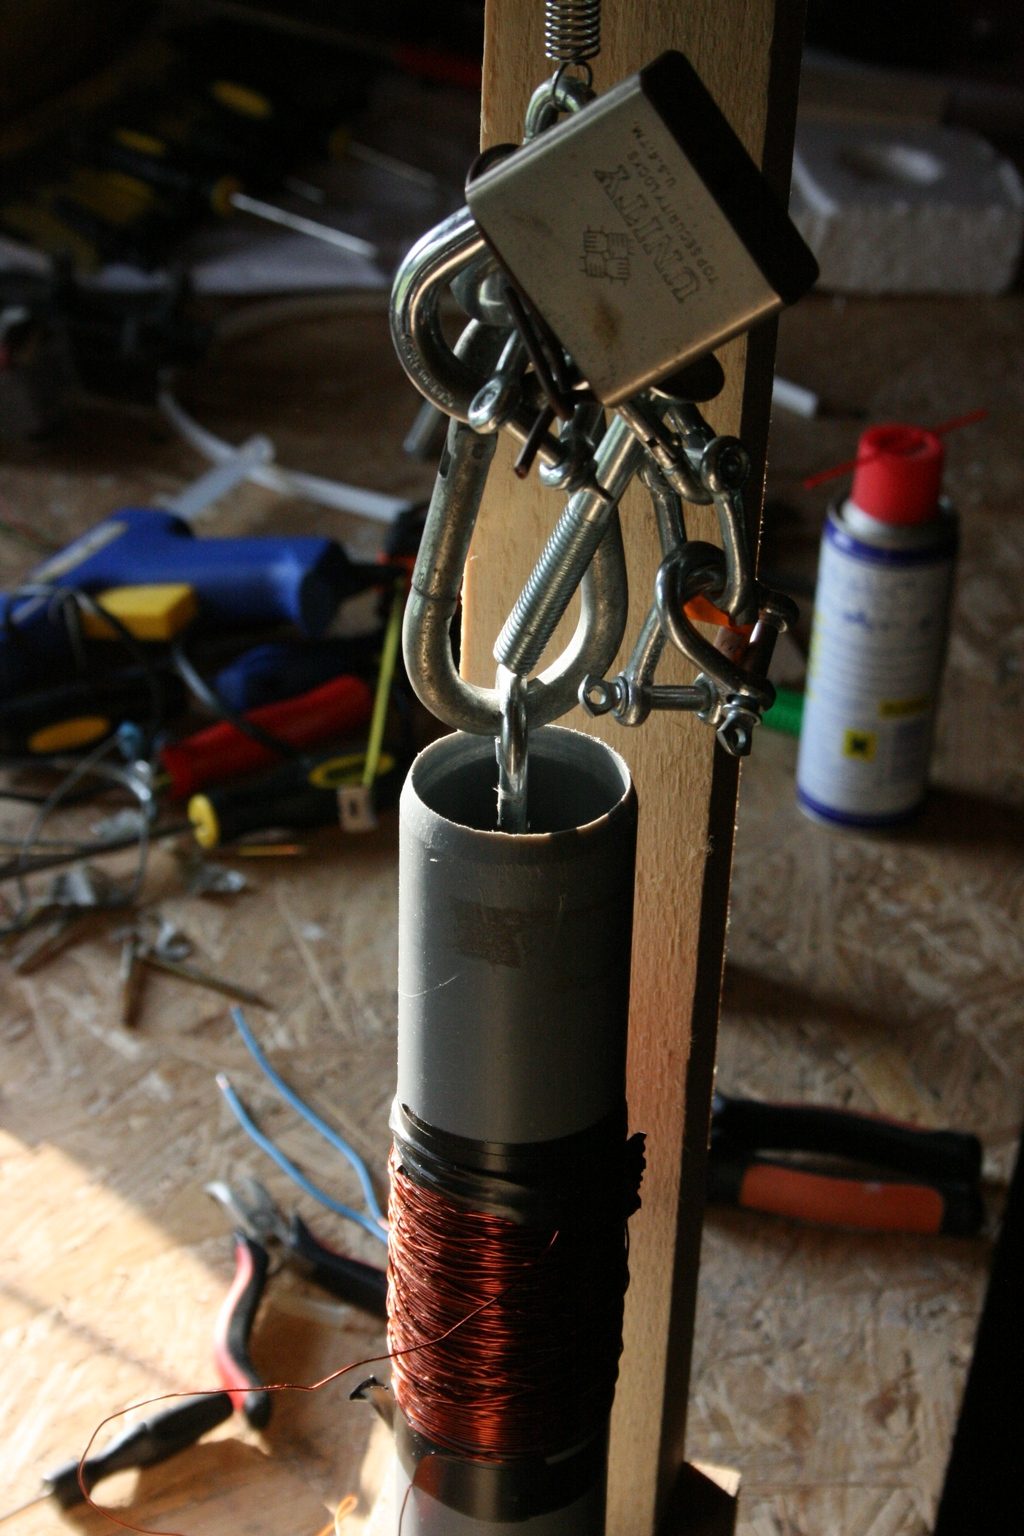
A wooden frame holds the sleeve with the coil and the magnet hanging on the spring: 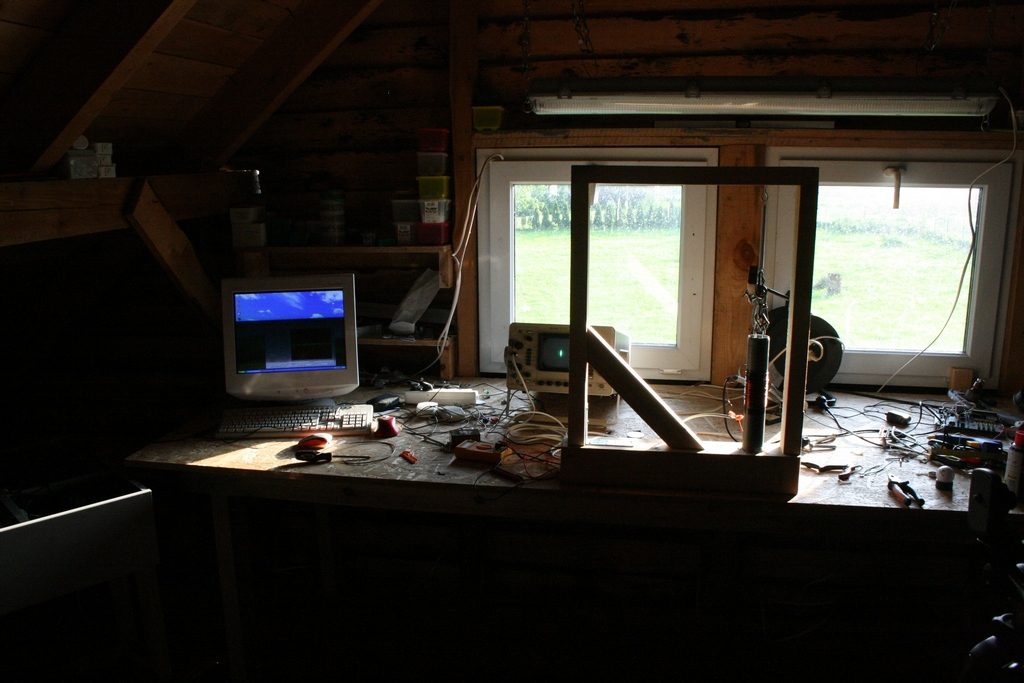 The magnet alone isn't heavy enough, so I had to add extra weight to the spring so that it's slightly stretched at rest:
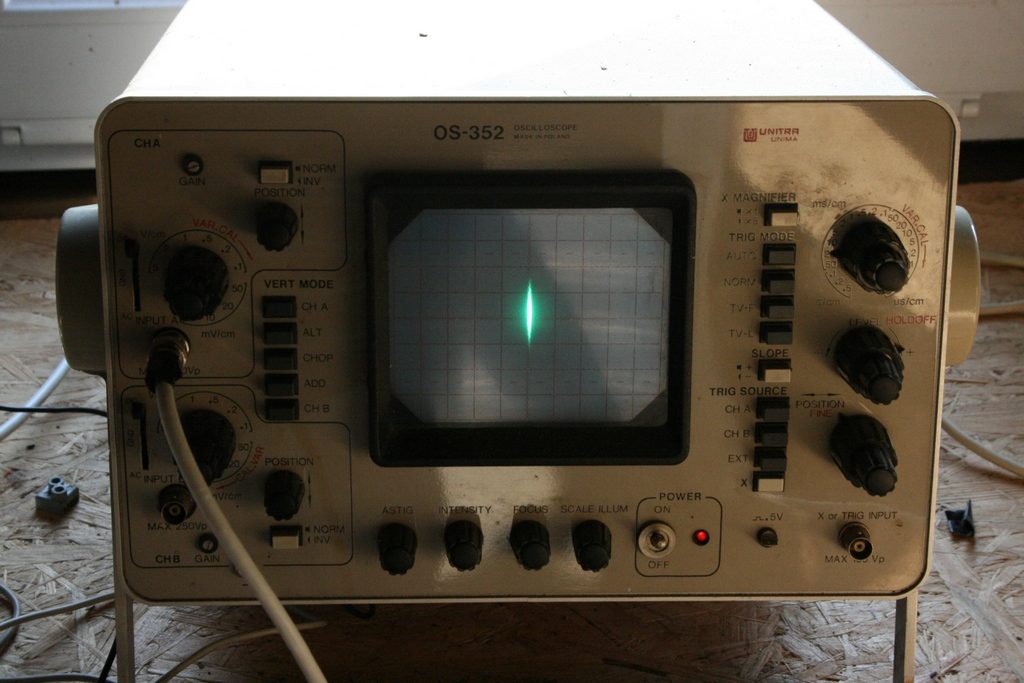
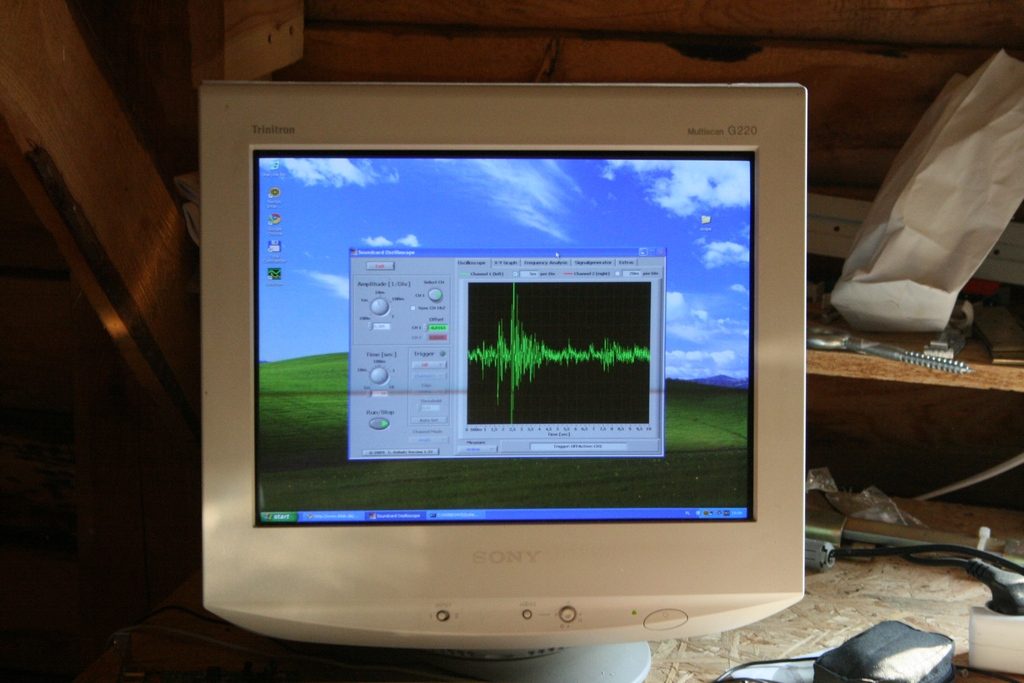
 After connecting the coil to an oscilloscope (a real one or a computer-based one), we can watch how the setup responds to vibrations. Right now the coil is very weak, but the setup works. You can watch it working on an oscilloscope, but with an analog oscilloscope you don't see much (you can see that it works, but you can't get a nice waveform). The computer's sound card comes to the rescue – we plug the coil into the microphone input and fire up a dedicated program. The second picture below shows the effect of stomping on the floor.
There's of course a lot more to say about this project, and I intend to write it up once I get somewhat better results. For now I just wanted to show off that it works.
Next in Homemade seismograph: Homemade seismograph – step two →