Homemade seismograph – step two
 Marcin Polkowski
Translated from Polish. Originally published on morony.pl on 4 Jun 2010.
Part 2 of 5 in the series Homemade seismograph
Yesterday I managed to build a prototype capable of recording strong, local tremors. Today I made a few modifications.
First of all, I couldn't buy DNE winding wire anywhere in Olsztyn, so my idea of making my own coil came to nothing. I did, however, manage to buy ready-made coils. In the seismograph described below, I used a coil of 0.10 mm wire with over 5000 turns (I bought 2 of these). I also still have a coil of 0.07 mm wire with 10000 turns, which I'm saving for tomorrow.
I made two identical sensors, but today I only used one, because it got dark.
The construction is as you can see in the pictures, and I don't see any reason to write about it at length right now.
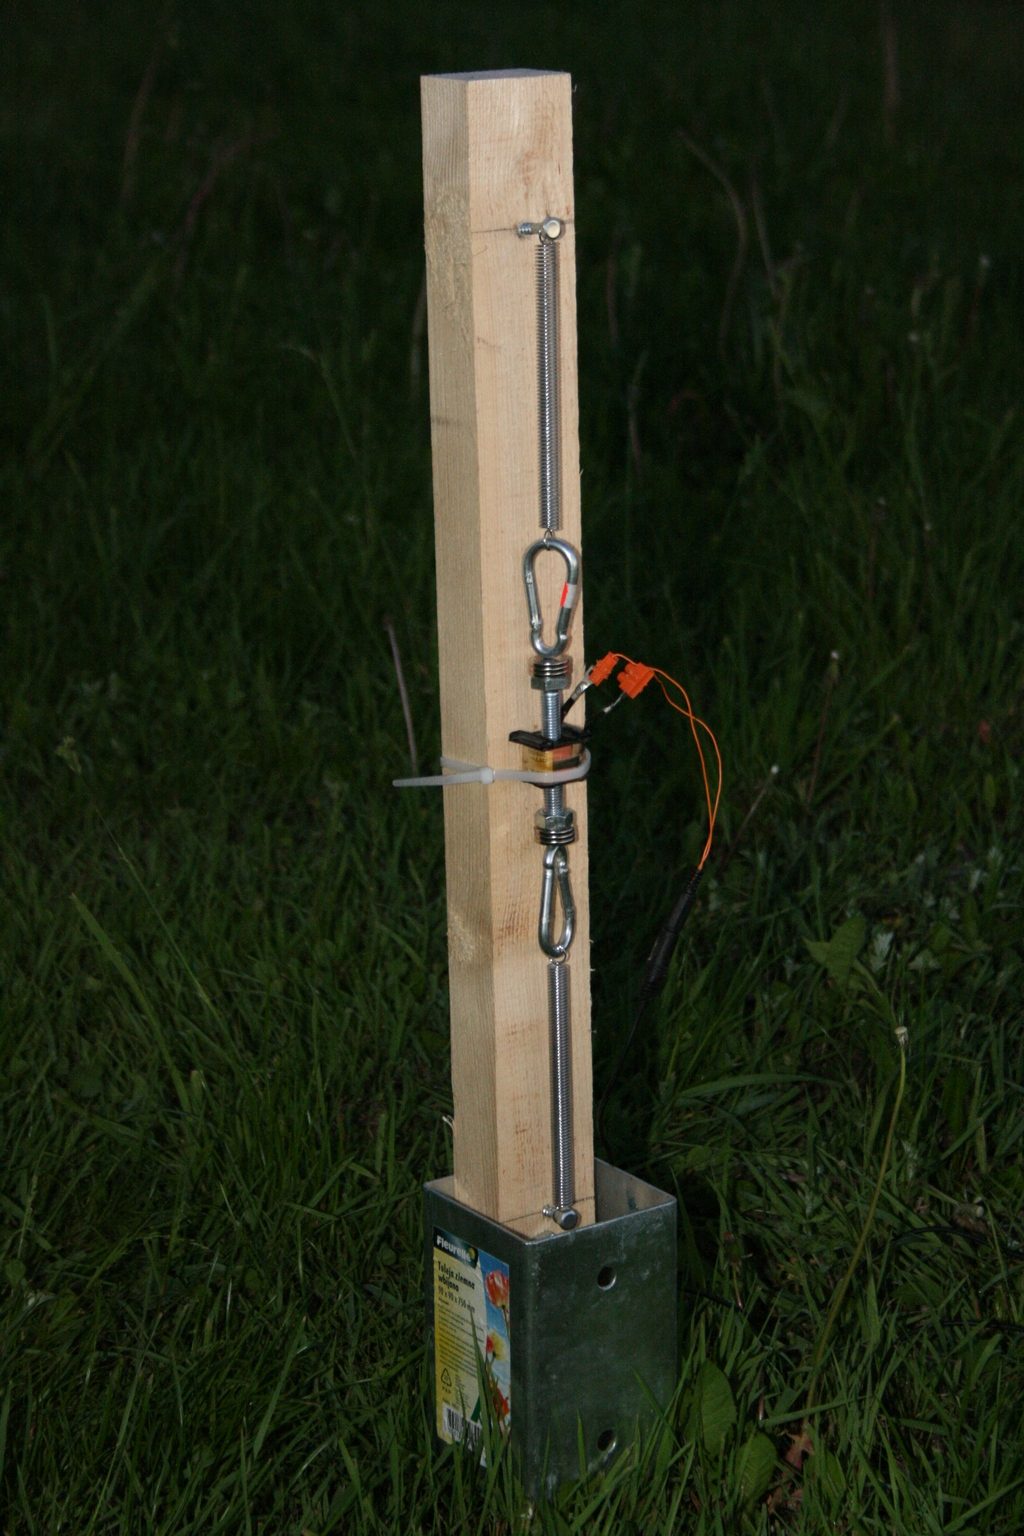
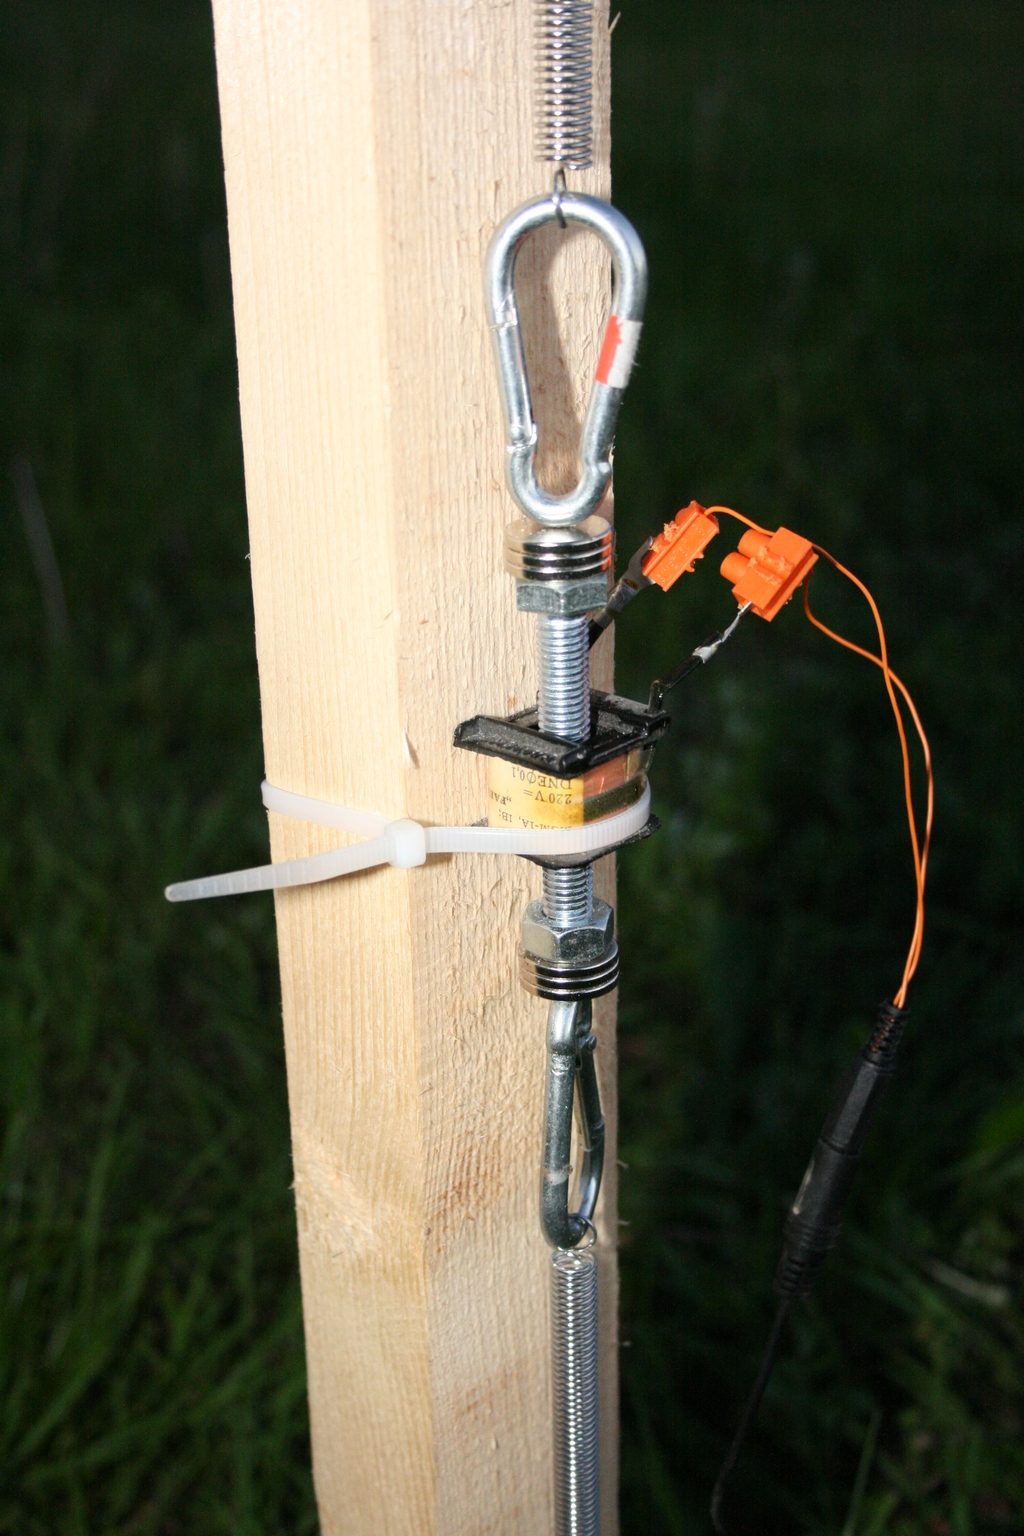
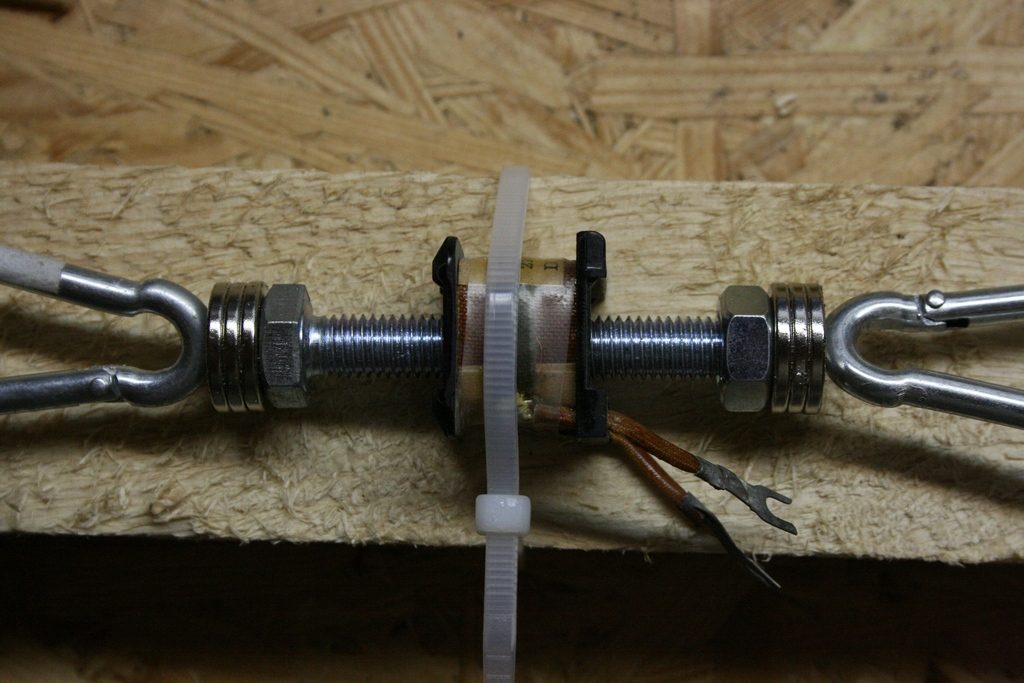
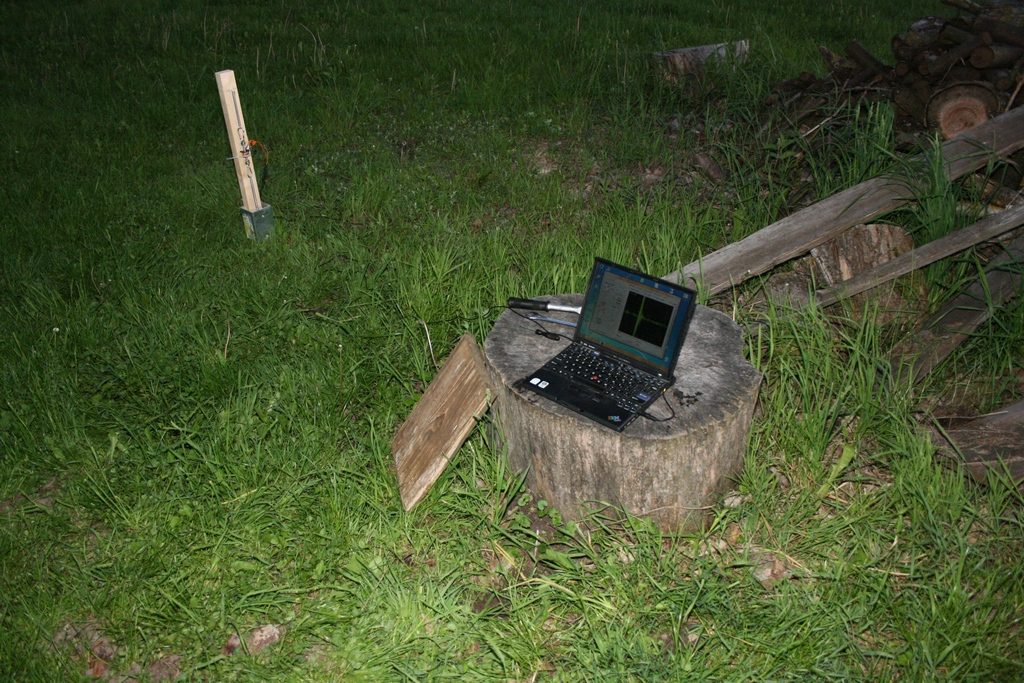
I set the sensor up outdoors and connected it to the laptop's sound card. And here came success – it turned out that the noise on the laptop's sound card is practically zero. The sensor was able to record a stomp on the ground from a dozen or so meters away and a dropped rock (30 kg from 1.5 meters) from several dozen meters away. I'm thrilled with that result.
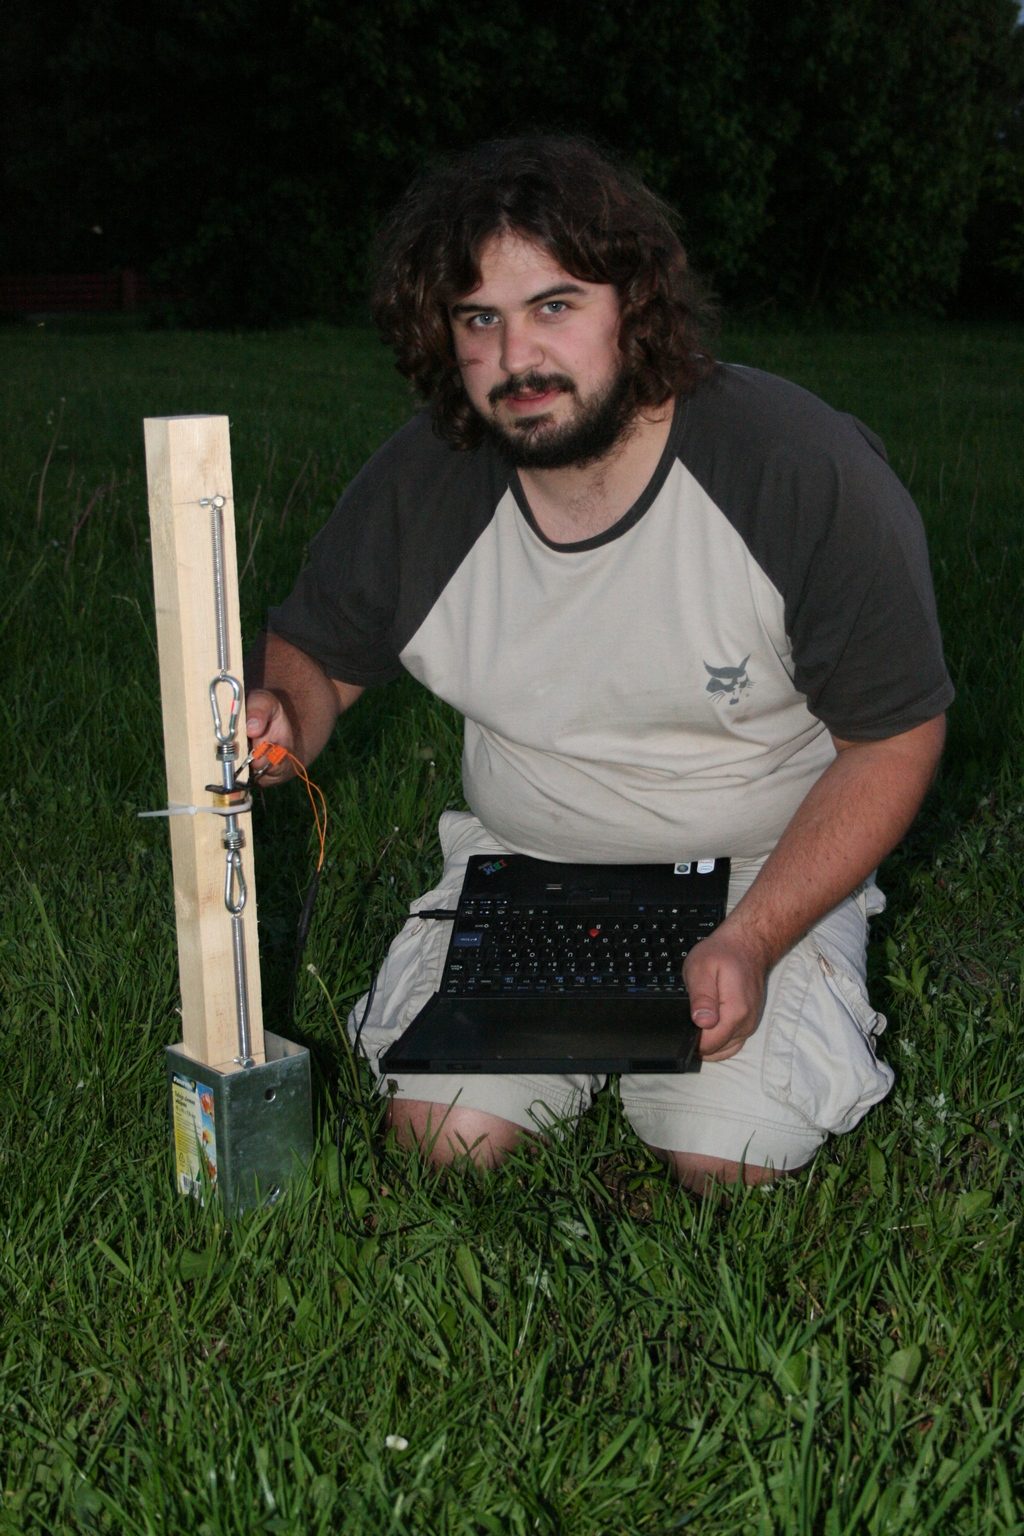
The whole setup even looked professional:
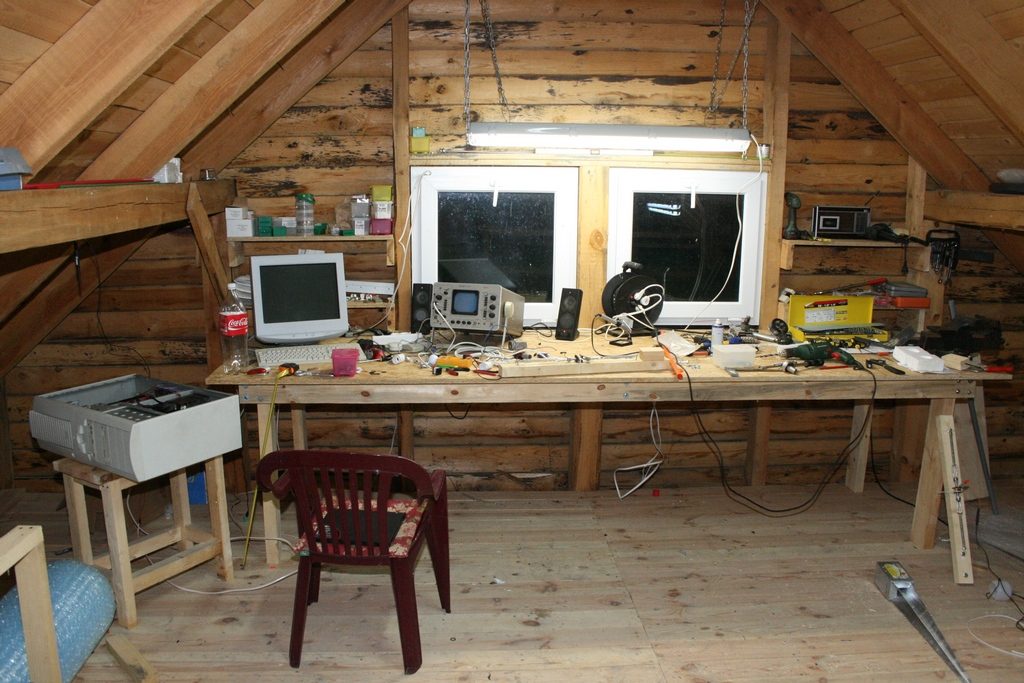
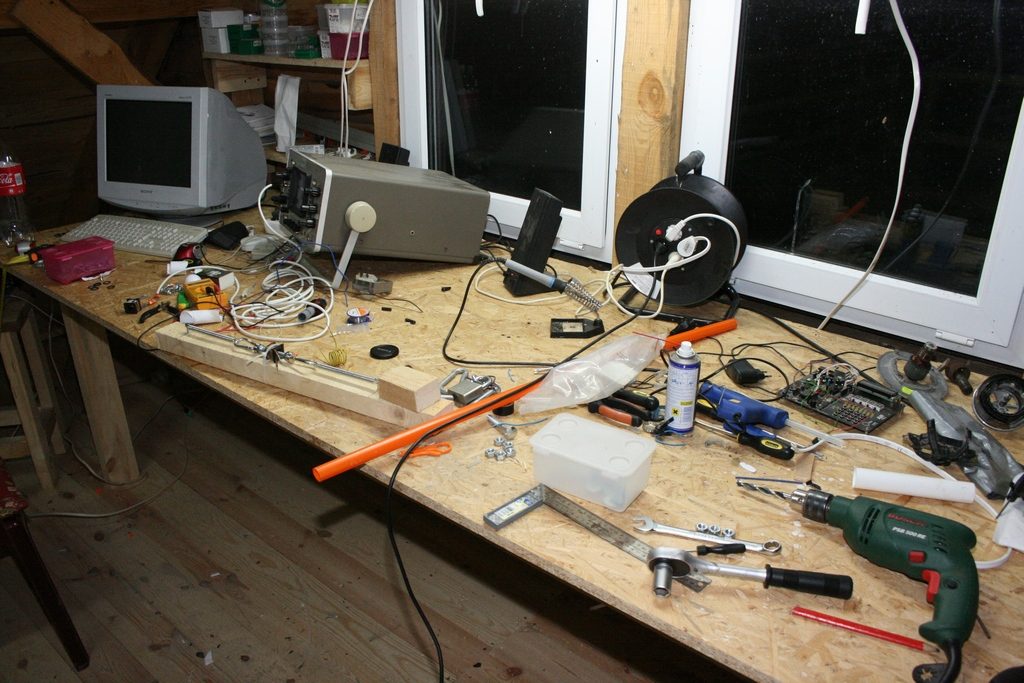
Like any creative tinkering, building the seismograph turned my workshop into a total mess:
First experiment tomorrow 🙂
Next in Homemade seismograph: Homemade seismograph – first recordings →