Building your own smog sensor #1
 Marcin Polkowski
Translated from Polish. Originally published on morony.pl on 26 Feb 2018.
Part 1 of 2 in the series Smog sensors
- Building your own smog sensor #1
- Smog sensors: mine vs. Airly – a first comparison
I promised to share detailed instructions for building your own smog sensor. I'd like to aim them at people who don't work in electronics or IT professionally but have at least a faint idea about both. Building the sensor has three stages: getting the components, assembling the sensor, and programming it. This article will have three parts to match.
The whole project can be modified in many ways. Here I want to show you what I think is the best solution in terms of cost, quality and durability.
Parts you'll need
- Particulate matter sensor: there are many laser sensors on the market that measure the concentration of particulate matter in the air. I tested several of them and decided to use the SEN0177 sensor from DFROBOT. You can order it in Poland (Botland, TME) or directly from the manufacturer (DFROBOT).
- Communication module: the heart of our device. There are two options here: a computer from the Raspberry Pi family (ideally the Raspberry Pi Zero, because of its size). You can buy it in lots of places, e.g. here. The Raspberry Pi runs Linux, so it's very versatile. It connects to the world over WiFi, but thanks to its USB port you can also plug in, say, a 3G modem. The Raspberry Pi is easy to set up and program, but you need quite a few skills to turn it into a device that will run reliably for a long time (I'll write more about that soon). Or a communication module based on the ESP32 chip. There are dozens of different communication modules on the market, but I've picked one family that I recommend to you as well. I mean the products from PyCom, in particular their simplest module: the WiPy 2.0 IoT ESP32. It's a small device with WiFi connectivity that you program in Python. You can buy it at Botland. This is the module I choose for my sensors – and I recommend it to you too.
- Enclosure: when building a smog sensor we face a serious problem – the device has to be moisture-proof but well ventilated. At first glance those two properties are hard to reconcile. The best solution seems to be a radiation shield – a type of meteorological enclosure that protects sensors from things like sunlight and water without restricting the free flow of air. After a long search I managed to find a very good and cheap one under the name weather station sensor shield.
- Additional sensors: the basic version of the sensor doesn't need any, but if you can, it's worth extending the measurements to temperature, pressure and humidity. I'd go for something integrated and definitely digital with a good interface: e.g. something like this.
- Power: the device will need a 5V supply, so we need a power adapter: I go with this adapter from TME. It's worth buying an extension cable for it, which lets you leave the adapter inside the building and run a thin cable outside, e.g. by shutting it in a window.
- Small parts: we also need a power connector (I use this one – make sure it matches your adapter), a pack of jumper wires (you can do without them, but they make life easier) and a precision female pin header strip. Heat-shrink tubing will come in handy too.
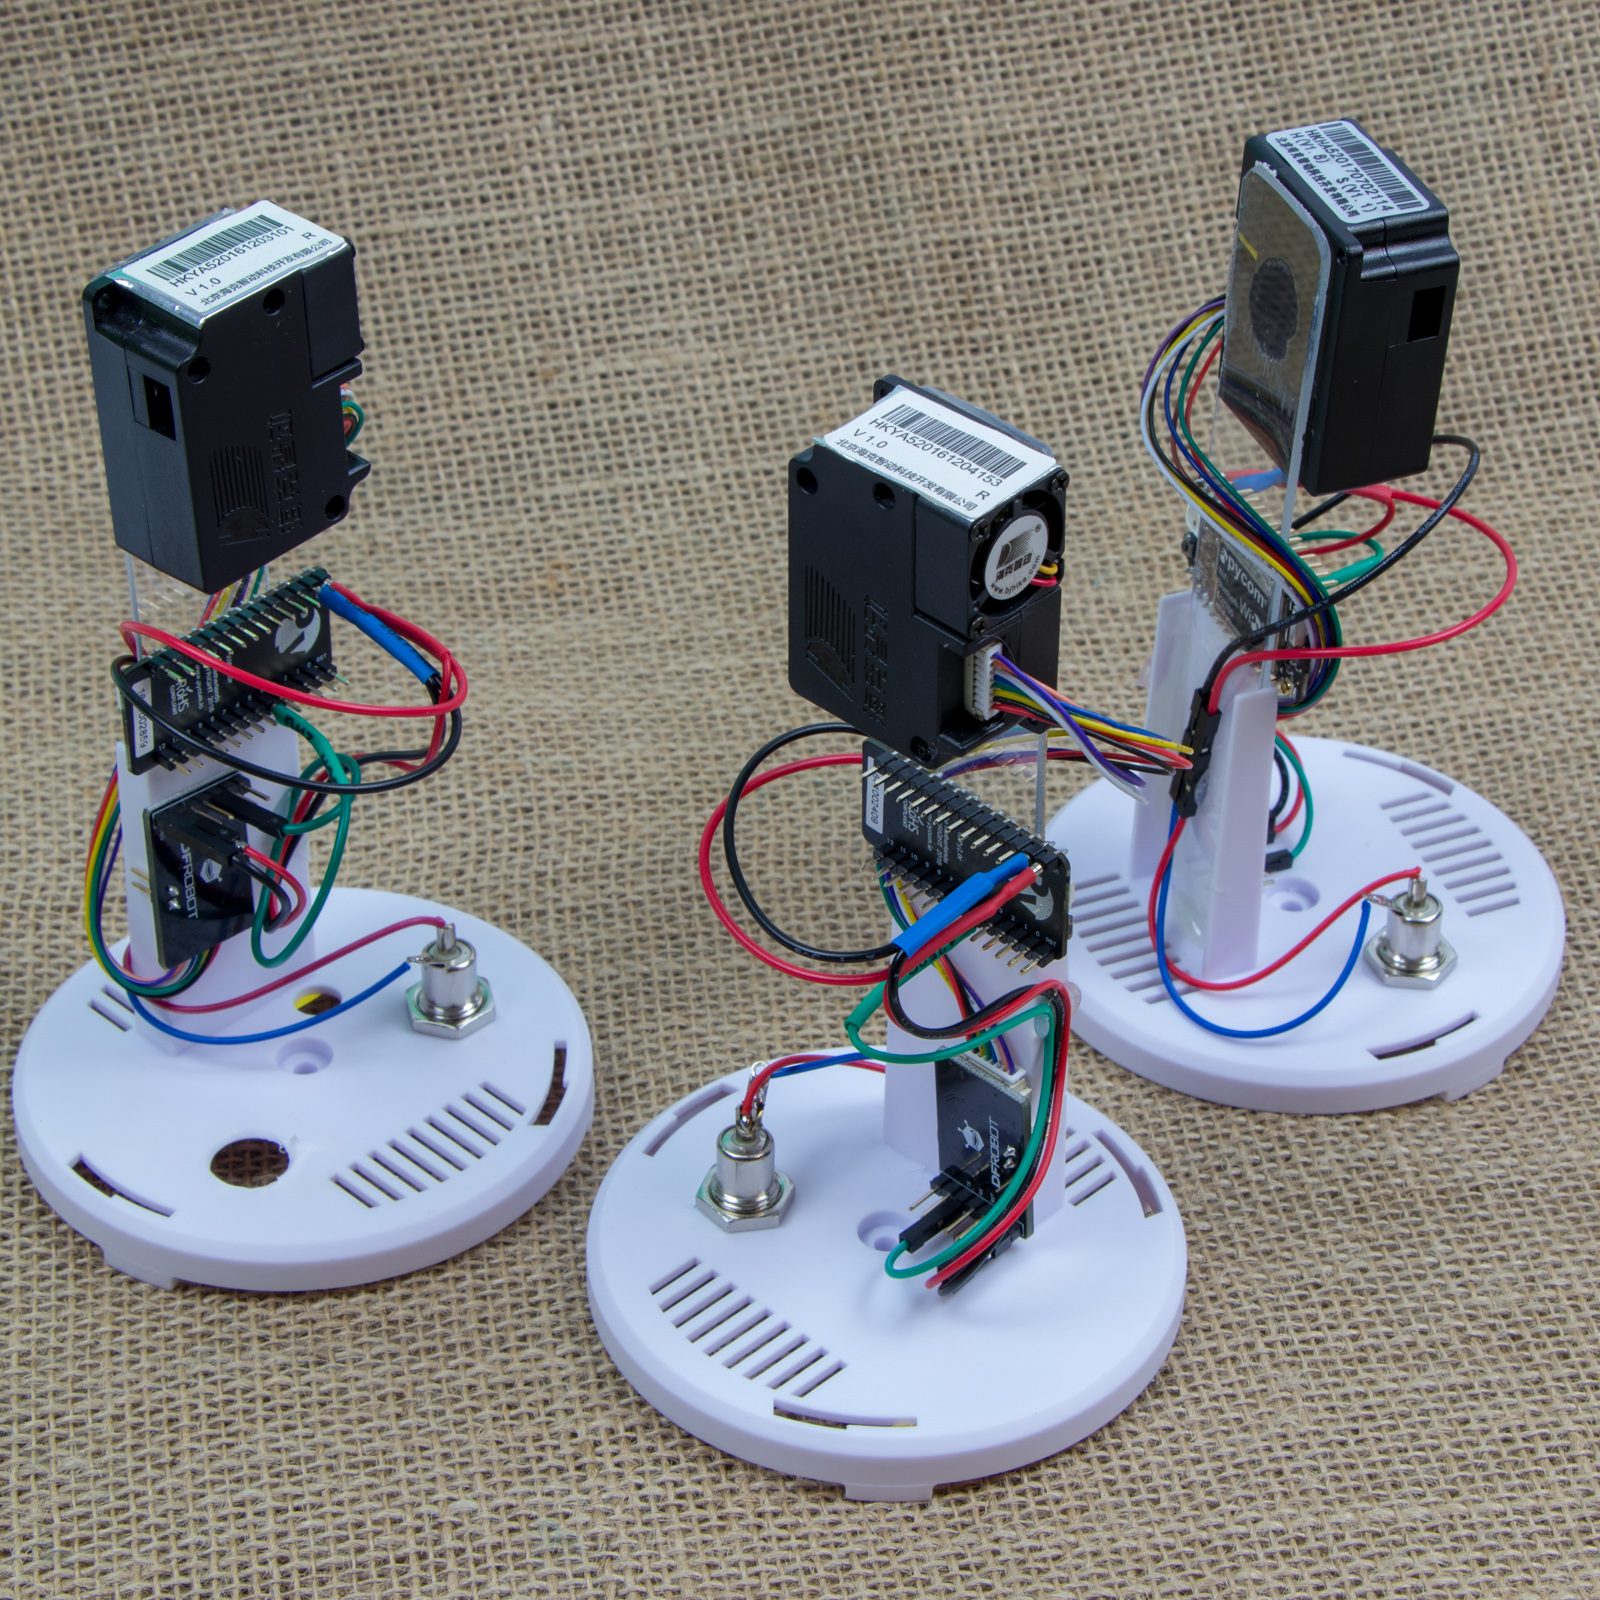
Tools and other things you'll need
- Something to cut wires and strip insulation
- A soldering iron + solder
- A hot glue gun and glue
- To program the WiPy module properly you need an expansion board, which costs 99 zł.
Cost summary
- Particulate sensor: 269.00 zł
- Communication module: 135.00 zł
- Enclosure: 48.60 zł
- Additional sensors: 113.90 zł
- Power adapter: 29.91 zł
- Extension cable: 20.17 zł
- Power connector: 6.17 zł
That comes to 622.74 zł gross (you can skip the additional sensors – then it's about 500 zł).
As I write this, I have orders waiting for 3 sensors, so I'm ordering the parts, and while assembling them I'll put together instructions for you – check back in about a week.
Next in Smog sensors: Smog sensors: mine vs. Airly – a first comparison →